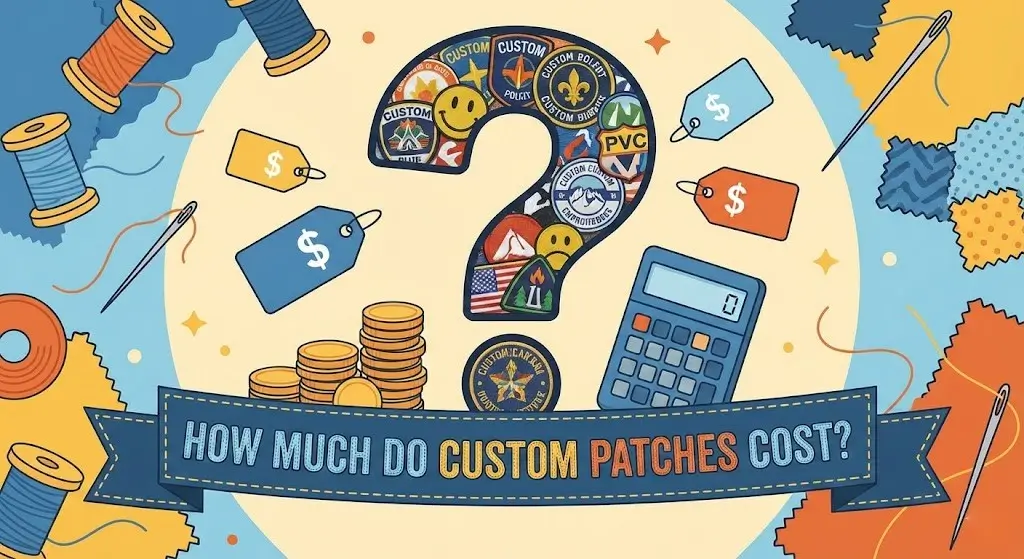
How Much Do Custom Patches Cost?
Stop guessing. We break down the real costs per unit, setup fees, and exactly how bulk orders drop your price to pennies.
On average, custom embroidered patches cost between $1.50 and $4.00 per unit for a standard order of 50 pieces. However, this price fluctuates wildly depending on your quantity.
The Quantity Effect
If you are looking for just a handful (10–25), prices often spike to cover machine setup. Bulk orders, conversely, absorb that setup cost. The final invoice always depends on three hard factors:
- Total Size: The “real estate” of the patch.
- Embroidery Coverage: The total stitch count required.
- Backing Type: Velcro vs. Iron-on vs. Sew-on.
The “Why”: The 6 Factors That Drive Your Price
Customers ask me all the time why a 3-inch patch costs $2.00 one day and $4.00 the next. It’s not magic; it’s machine runtime and materials. Here is exactly how we calculate the bill on the factory floor.
1. Size & Shape (The “Real Estate” Rule)
We charge by the square inch. Think of embroidery machines like 3D printers, they take time to travel across the fabric.
- Standard Shapes: Circles and squares are cheaper because we can use a standard “merrow” machine to wrap the border quickly.
- Die-Cut Shapes: If you want a custom shape (like a skull or a shield), we have to laser cut it. That adds machine time and electricity costs.
2. Order Quantity (The “MOQ” Trap)
There is a fixed “setup cost” to every job, digitizing the art file and threading the needles.
- The Trap: Ordering 10 patches often costs nearly the same total amount as ordering 25. The machine setup takes me 45 minutes regardless of whether I run one patch or a hundred.
- The Sweet Spot: Price breaks usually hit hard at 50, 100, and 300 units.
3. Embroidery Coverage (50% vs. 100%)
“Coverage” refers to how much of the stiff twill background is covered by thread.
- 50% Coverage: We leave the twill visible for the background color. This is faster and cheaper.
- 100% Coverage: We stitch the entire surface. This looks premium but doubles the stitch count (and the price). Note: In San Diego sun, exposed cotton twill fades faster than 100% polyester thread coverage.
4. Material Types (Woven vs. PVC vs. Leather)
Different materials require different machinery:
- Woven (Cheapest): Uses a loom. Great for high detail, low cost.
- Embroidered (Standard): The classic raised thread look.
- PVC/Rubber (Mid-High): Durable, waterproof, and popular for tactical gear here in SoCal. Requires an expensive metal mold ( 50− 50− 100 fee) upfront.
- Leather (Premium): Stamped or laser-etched. Highest material cost.
5. Backing Options (Hidden Labor)
The “glue” isn’t just glue; it’s a process.
- Sew-on (Standard): Comes free.
- Iron-on (+ $0.10 – $0.20): Requires us to run the patches through a heat press to fuse the adhesive.
- Velcro/Hook & Loop (+ $0.40 – $0.70): The most expensive option because we have to manually sew the hook backing onto the patch.
6. Number of Colors
Most modern machines have 9 to 12 needles per head.
- Standard: Up to 7-9 colors are usually free.
- Surcharge: If your design has 15 colors, we have to stop the machine and re-thread it manually. That downtime costs you extra.
Price Breakdown by Patch Type (Average Market Rates)
You aren’t just paying for the design; you are paying for the manufacturing method. Here is what the numbers look like on a standard invoice for a 3-inch patch.
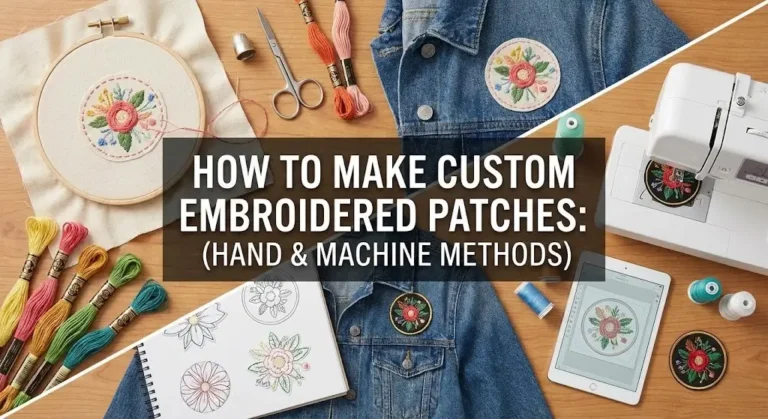
Embroidered Patch Pricing
Gabriel’s Take: This is the industry standard. It offers that classic 3D texture and “threaded” feel. It’s the most balanced option between cost and durability.
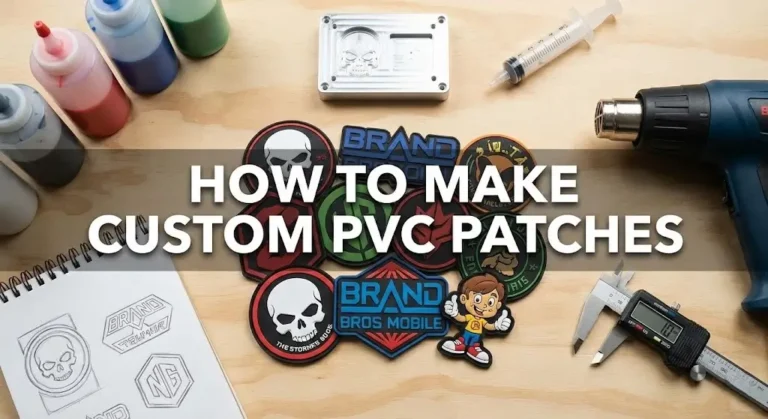
PVC (Rubber) Patch Pricing
Gabriel’s Take: We do a lot of these for the military guys down at Naval Base San Diego. They are waterproof and don’t fray. However, because we have to inject liquid rubber into a metal cast, the upfront cost is higher.
Woven Patch Pricing
Gabriel’s Take: Woven patches are made on a loom, like a clothing label. They are flat and cheap to produce in bulk, but they lack that classic “embroidery texture.” Great for merch giveaways where volume matters more than premium feel.
Leather & Chenille Pricing
Gabriel’s Take: These are premium items. Real leather or high-pile chenille (the fuzzy stuff) requires specialized equipment, driving the cost up.
Case Studies: Real World Cost Examples
To help you budget, here are two common invoices I’ve written up recently.
Scenario A: The Local Sports Team (Budget Conscious)
A Little League team needs patches for their jerseys. They have a simple logo and a tight budget.
- Specs: 50 patches, 3-inch circle, Iron-on backing, 75% embroidery coverage.
- Math: 50 units x $2.80/patch = **$140 Total.**
- Result: Affordable, easy for parents to iron on at home.
Scenario B: The Corporate Brand (Bulk Order)
A tech company needs swag for a product launch. They want high-end PVC patches for tactical backpacks.
- Specs: 1,000 patches, Custom Shape, Velcro (Hook) backing.
- Math: 1,000 units x $0.85/patch = $850 + $75 Mold Fee = **$925 Total.**
- Result: The unit price drops drastically because of the volume, even with the expensive backing and mold fee included.
For Resellers: How to Price Your Custom Patches?
If you’re looking to flip these patches, maybe you’re setting up a booth at Comic-Con or selling at Kobey’s Swap Meet, you need to know your margins. I see too many new brands buy patches for $3.00 and sell them for $5.00. By the time you pay for gas and packaging, you’re breaking even.
Calculating Your Break-Even Point
Your cost isn’t just the invoice I send you. It is (Patch Cost + Shipping + Packaging) / Total Units. That is your “Landed Cost.” Never price based on the manufacturing cost alone.
Recommended Retail Margins (The 2x – 4x Rule)
The Standard: If your landed cost is $1.50, you should be retailing between $6.00 and $8.00.
The Premium: If it’s a limited edition PVC or detailed embroidery, you can push 4x-5x margins. Customers pay for the art, not just the thread.
Money-Saving Checklist: How to Lower Your Cost Per Patch
If the quote is coming in too hot, here is how you trim the fat without ruining the design.
-
Simplify the Border:
Stick to standard shapes (circles, squares, rectangles). This allows us to use a “Merrowed” border (an overlock stitch). It’s fast and cheap. Laser-cut borders cost more.
-
Stick to 9 Colors:
Most of our heads handle 9 colors without a manual changeover. Keeping it under this limit avoids surcharges.
-
Hit the Price Break:
This is the easiest win. If you need 40 patches, order 50. The total bill often drops because you just crossed a quantity threshold.
-
DIY the Backing:
Order “Sew-on” (Free). If you have a heat press at home, buy a roll of heat-seal film and apply it yourself. You save the $0.10 – $0.20 per unit labor charge.
Need a Quote?
If you’re tired of doing the math yourself, just send us your art. At Custom Patches San Diego, we can look at your design and tell you exactly where you can save money-whether it’s switching from PVC to embroidery or adjusting the size by half an inch.
Get Your Free Quote TodayFrequently Asked Questions
Why are PVC patches more expensive than embroidered?
It comes down to the tooling. With embroidery, the “tool” is a digital file ($15 digitizing fee). With PVC (rubber), we have to CNC mill a physical metal mold to cast your design. That mold costs between $50 and $100 upfront. However, once that mold is paid for, the unit price for PVC is actually quite competitive.
What is the cheapest type of custom patch?
If you are strictly shopping on price, Woven Patches or Sublimated (Printed) Patches are the winners.
Woven: Uses thinner thread and a loom, so it uses less material and runs faster than embroidery.
Sublimated: It’s essentially dyeing the fabric. There is no stitching involved, which means zero needle time.
Do custom patches have a setup fee?
Yes, but usually only on small orders. The fee covers “Digitizing”, converting your artwork into a file the machines can read (.DST file). At Custom Patches San Diego, if your order volume is high enough (usually 50+ pieces), we absorb that cost and waive the fee for you.
What is the standard size for a hat patch
2.25 inches high. This is the golden number. If you go taller than 2.25 inches on a standard baseball cap or trucker hat, the patch won’t sit flat against the curve of the forehead. Advice: Keep it under 2.25″ for a clean, professional fit. It will pucker at the corners otherwise.