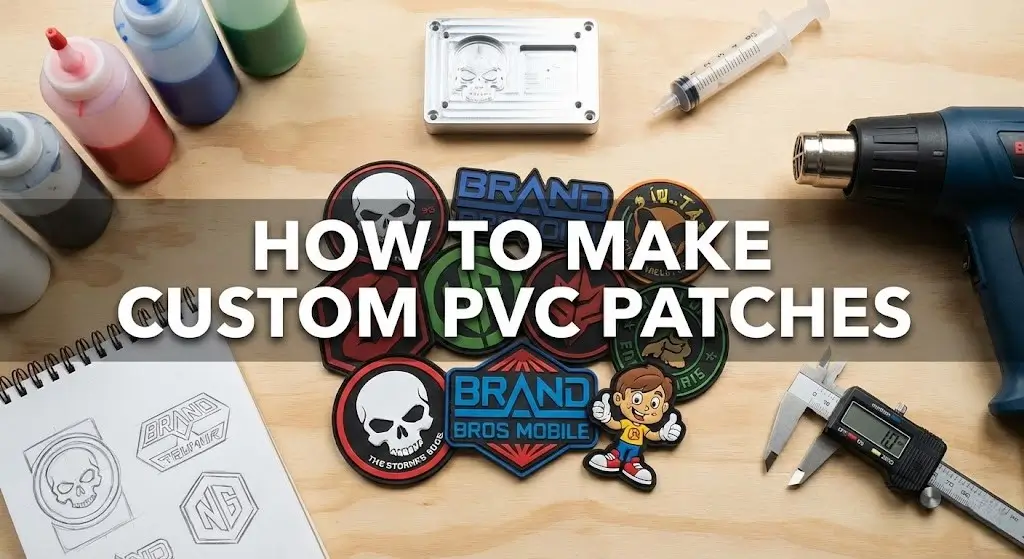
How to Make Custom PVC Patches: From DIY Hacks to Industrial Manufacturing
Custom PVC patches are manufactured using a complex industrial process called “micro-injection,” where liquid vinyl is dispensed into a CNC-milled metal mold and baked at high temperatures. However, if you are a maker with a 3D printer or a soldering iron, you can replicate the look at home using TPU filament or by casting silicone into a resin-printed mold. Just know that the “real deal” requires heavy machinery, while the DIY methods are clever workarounds.
The Reality Check: PVC vs. Silicone vs. TPU
Before you start buying chemicals, you need to know what you are actually touching. “Rubber patch” is a catch-all term, but the materials behave very differently.
Soft PVC
(The Industry Standard)This is the standard for tactical military patches like those used by Navy SEALs down in Coronado.
- The Material:
- Polyvinyl Chloride (PVC) mixed with a plasticizer to make it soft.
- The Process:
- Requires liquid “Plastisol,” metal molds (aluminum or copper), and a heat curing oven.
- The Warning:
- Heating PVC releases chlorine gas. If you do this in your garage without industrial ventilation, you are going to hurt your lungs. We follow strict product safety standards and California EPA guidelines here at the factory for a reason.
Silicone
(The DIY Alternative)- The Material:
- Two-part liquid rubber (Part A + Part B).
- The Process:
- Air cures at room temperature. No oven needed.
- The Pro:
- It is skin-safe and creates a matte, high-grip finish. It’s also much more heat-resistant than PVC, which makes it great for kitchen or fire-safety gear.
TPU
(The 3D Printed Option)- The Material:
- Thermoplastic Polyurethane filament.
- The Process:
- Printed on a standard FDM 3D printer (like an Ender 3 or Prusa).
- The Feel:
- Harder and less flexible than real PVC. It feels more like a tire tread than a soft gummy bear.
Method 1: The Industrial Process (How Professionals Do It)
Even if you plan to DIY this, you need to understand how the pros do it to understand why your factory-made patches look so crisp. It’s not magic; it’s precision tooling.
- 1
Step 1: The CAD Design & Layering
We don’t just print a JPG. We have to separate the art into layers.
2D Layers: Think of this like a topographic map. Each color is a flat plateau separated by a small trench.
3D Sculpting: This is where we round the edges to give a face or a muscle definition a doomed, realistic look. - 2
Step 2: CNC Mold Milling
We take a block of aluminum or copper and use a CNC machine to carve out the negative of your design.
Why Metal? It has to withstand the heat of the baking oven and the pressure of the cleaning cycle. 3D printed molds usually melt or warp under industrial heat. - 3
Step 3: Micro-Injection (Dispensing)
We don’t pour the liquid in like a bucket. We use automated syringes (dispensers) to drop the liquid colored PVC into the tiny crevices of the mold. It’s like icing a very complicated cookie.
- 4
Step 4: The Baking Phase
Once the mold is filled, it goes into an oven or onto a heated plate at around 350°F to 375°F. The heat turns the liquid goo into a solid, durable piece of rubber.
Method 2: The “Pro-Maker” Method (3D Printing + Silicone Casting)
Target: The garage inventor who wants a soft, factory-like feel.This is the smartest workaround I’ve seen. Instead of milling an aluminum mold (which costs thousands in machinery), you print a mold using a high-resolution SLA (Resin) 3D printer.
3D Print Your Mold
Use a resin printer (like an Elegoo or Anycubic) to print the “negative” of your patch.
Mixing & Pouring
Mixing the Material: Pick up a two-part platinum cure silicone (like Smooth-On Dragon Skin). You can buy liquid pigments to dye it whatever color you need.
The “Squeegee” Fill: Pour your colored silicone into the mold. Use a squeegee or a flat scraper to force the liquid into the details and scrape the back flat.
Curing & Backing
Let it sit for 4-6 hours.
Method 3: The “Tech” Method (Direct 3D Printing with TPU)
Target: Makers with an Ender 3 or Prusa.If you don’t want to mess with messy liquids, you can print the patch directly using TPU (Thermoplastic Polyurethane) filament. It’s flexible, but it feels harder, more like a tire tread than a gummy bear.
Tuning Your Printer
TPU is like printing with cooked spaghetti.
- Speed: Slow it down to 15-20mm/s.
- Retraction: Turn it OFF or keep it very low. If the printer pulls the filament back quickly, it will stretch and clog the nozzle.
The “Pause at Height” Trick
Want a multi-colored patch? In your slicer software (Cura), add a script to “Pause at Height” (or “Filament Change”) at specific layers. The printer stops, you swap the red spool for a white spool, and it keeps printing right on top. This creates those crisp, layered colors.
The “Ironing” Setting
This is the secret to making it look non-3D printed. Enable “Ironing” for the top layer. The nozzle will run over the top surface without extruding plastic, melting it smooth and hiding the print lines.
Designing Your Patch (Critical for PVC)
You cannot just send a photo of a sunset to the machine. PVC is liquid plastic; it obeys the laws of physics.
No Gradients
You cannot fade from red to blue (if you need gradients, consider custom printed patches instead). Every color must be a solid, distinct block.
The “Spot Color” Rule
Think of it like a coloring book. Every color section needs a wall (a “trench”) to keep the liquid colors from bleeding into each other during the fill process.
Minimum Line Thickness
If your line is thinner than 1mm, the liquid PVC won’t flow into it, or your 3D printer nozzle (usually 0.4mm) won’t be able to draw it. Keep text bold and blocky. Serif fonts (like Times New Roman) are a nightmare for PVC.
Flat layers stacked like a cake.
Rounded, domed surfaces. This requires advanced CAD modeling to create the curves (like the curve of a skull or a helmet).
Attaching the Backing (The Hardest Part)
Rubber rejects almost everything. Getting the Velcro to stay on is the biggest failure point for DIYers making custom hat patches.
The Sewing Channel
When designing your patch, create a “gutter” or a thinner channel around the border. This gives your sewing needle a place to punch through without fighting through 3mm of solid rubber.
Special Adhesives
- E6000 It works okay for TPU, but takes 24 hours to cure.
- Sil-Poxy The only option for Silicone patches.
Thermal Bonding
High Risk MethodIn the factory, we actually heat-fuse the backing to the PVC while it’s still hot. You can try this with TPU by placing the Velcro on the print bed (if you’re brave), but it’s risky.
Cost Analysis: DIY vs. Outsourcing
Is it worth the headache? You can request a quote to compare, but here is the math.
| Method | Equipment Cost | Time Per Patch | Quality |
|---|---|---|---|
| Industrial (Ordering) | $ 0.00 (JustMoldFee) | 0 Min | 10/10 (Retail Ready) |
| 3D Print (TPU) | ~$250 (Printer) | 45 Min | 7/10 (Visible Lines) |
| Silicone Casting | ~$250 (Resin Printer) + $50 (Chems) | 24 Hours | 8/10 (Smooth but slow) |
Frequently Asked Questions
Can I use a Cricut to make PVC patches?
No. A Cricut cuts flat sheets of vinyl (HTV). It cannot create the 3D, molded rubber structure of a PVC patch. You can layer vinyl to look like a patch, but it will be flat.
Is PVC patch making toxic?
If you are melting actual PVC (Plastisol) at home: Yes. Burning PVC releases chlorine gas and hydrochloric acid. Do not do this in your kitchen. This is why we recommend DIYers use Silicone (casting) or TPU (printing), which are much safer.
Why do PVC patches cost more than embroidered patches?
It’s the mold. We have to cut a physical block of metal for every design. With embroidery, the “tool” is just a digital file. As detailed in our patch pricing guide, that metal mold adds an upfront cost, but the durability is unmatched.