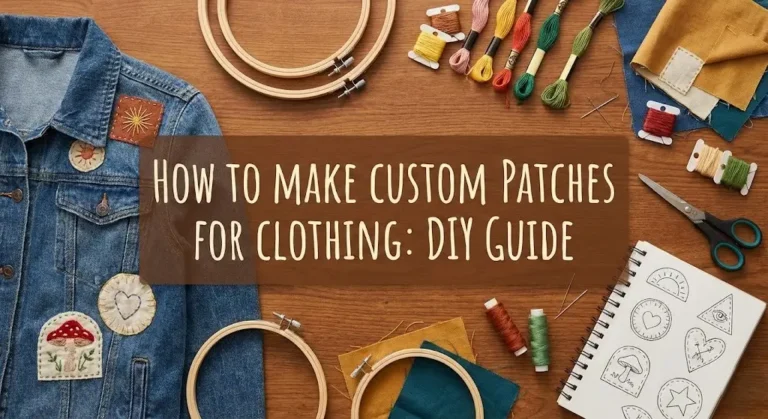
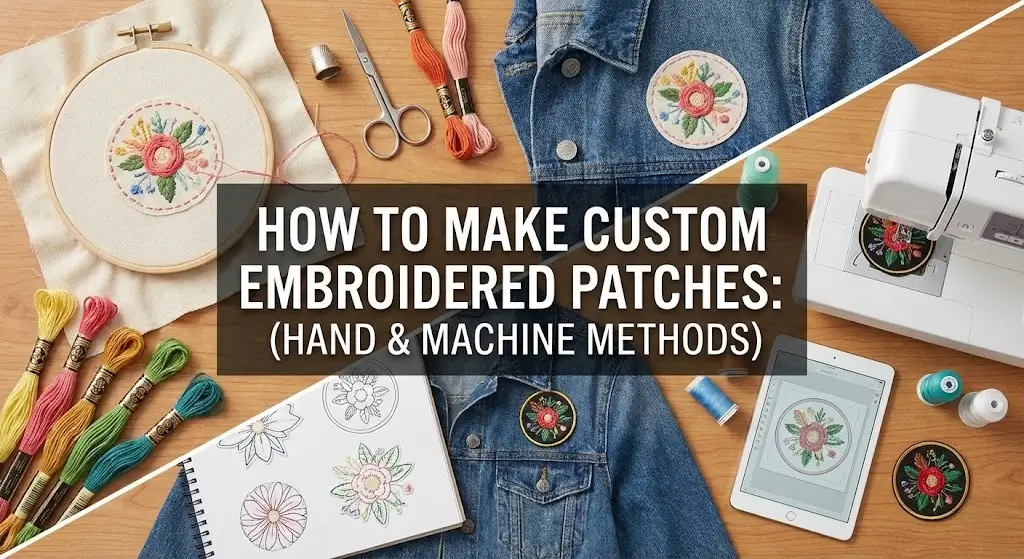
How to Make Custom Embroidered Patches: (Hand & Machine Methods)
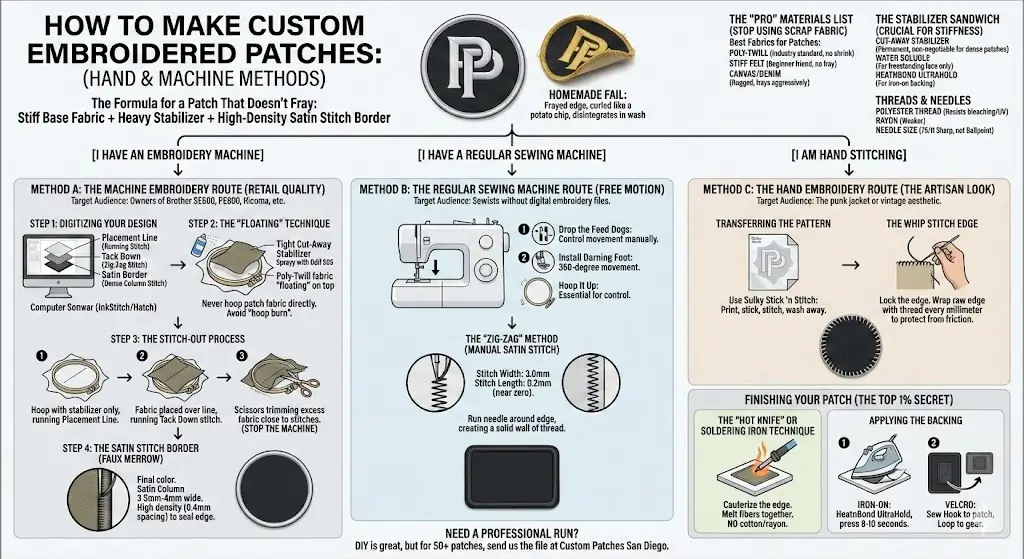
Most DIY patches look homemade because of one specific failure: the edge. Whether you are using a $10 needle or a $10,000 Tajima multi-head machine to make custom embroidered patches like we run here, the formula for a patch that doesn’t fray is the same. You need a stiff base fabric (Poly-Twill), a heavy stabilizer (the foundation), and a high-density Satin Stitch border to lock those two layers together. If you skip the stabilizer, your patch will curl like a potato chip; if you skip the border, it will disintegrate in the wash.
The “Pro” Materials List (Stop Using Scrap Fabric)
I see people trying to embroidered patches onto old t-shirt scraps. Don’t do it. T-shirt cotton is stretchy. Stretchy fabric equals puckered patches. If you want “Factory-Direct” quality, you need the right raw materials.
Best Fabrics for Patches
- Poly-Twill:
- This is the industry standard. It has a tight diagonal weave, a slight sheen, and it doesn’t shrink. We use this for 90% of the tactical military patches and first responder gear we make in San Diego.
- Stiff Felt:
- The best friend of the beginner. It doesn’t fray when you cut it, meaning you don’t have to be perfect with your border stitching. Great for that retro “Varsity Letter” look.
- Canvas/Denim:
- Use this if you want a rugged, tactical, or grunge aesthetic. Just be warned: canvas frays aggressively, so your border stitching needs to be tight.
The Stabilizer Sandwich
(Crucial for Stiffness) Think of stabilizer as the rebar in concrete. Without it, the thread tension will crush your fabric.
- Cut-Away Stabilizer:
- This is non-negotiable for dense patches. It stays permanently attached to the back of the patch. Tear-away is too weak for the high stitch counts of a patch border.
- Water Soluble (Badgemaster):
- Use this only if you are making “freestanding lace” patches where you wash the backing away completely.
- HeatnBond UltraHold:
- You will need this later to turn your patch into an iron-on.
Threads & Needles
- Polyester vs. Rayon:
- We use 100% Polyester thread. It resists bleaching and UV fading—crucial here in California where the sun beats down on gear. Rayon looks shiny, but it’s weaker.
- Needle Size:
- Use a 75/11 Sharp. Do not use a Ballpoint needle; it pushes fibers aside. You want a Sharp needle to punch crisp holes for text.
Method A: The Machine Embroidery Route (Retail Quality)
Target Audience: Owners of Brother SE600, PE800, Ricoma, etc.If you have a digital machine, you are 90% of the way to a professional result. But you can’t just hit “Start.” You have to trick the machine into building a patch.
- 1
Step 1: Digitizing Your Design (The Blueprint)
You need software like InkStitch (Free/Open Source) or Hatch embroidery software (Paid). A standard logo file won’t work. You must manually program three specific steps:- Placement Line: A simple running stitch that shows you where to put the fabric.
- Tack Down: A zig-zag stitch that holds the fabric to the stabilizer.
- Satin Border: The final, dense column stitch that seals the edge.
- 2
Step 2: The “Floating” Technique
Production Tip: Never hoop your patch fabric. Thick twill is hard to hoop and you’ll get “hoop burn” (permanent ring marks).
Instead, hoop a sheet of Cut-Away Stabilizer tightly (like a drum). Spray it with temporary adhesive (like Odif 505), and “float” your piece of Poly-Twill right on top. It saves fabric and prevents shifting. - 3
Step 3: The Stitch-Out Process
This is where the magic happens.- Run the Placement Line directly onto the stabilizer.
- Lay your Twill fabric over that line.
- Run the Tack Down stitch.
- STOP THE MACHINE. Take the hoop off (but don’t un-hoop the stabilizer!). Grab your curved appliqué scissors and trim the excess fabric as close to the stitching as possible without cutting the thread.
- 4
Step 4: The Satin Stitch Border (Faux Merrow)
Put the hoop back in and run the final color—the border.- Technical Spec: The border should be a Satin Column about 3.5mm to 4mm wide.
- Density: Set your density high (around 0.4mm spacing). You want the thread to be so thick that you can’t see the white fabric edge poking through. This mimics the “Merrowed” edge we do on industrial machines.
Method B: The Regular Sewing Machine Route (Free Motion)
Target Audience: Sewists without digital embroidery files.You don’t need a robot to make a patch. You just need steady hands and a “Zig-Zag” setting. This is called “Free Motion Embroidery.” It’s how patches were made before computers took over.
Preparing Your Machine
Drop the Feed Dogs: Those little metal teeth under the needle that pull the fabric? Lower them. You want to control the movement, not the machine.
Install a Darning Foot: This is the circular foot with a spring. It hops up and down, letting you move the fabric in any direction (360 degrees).
The “Zig-Zag” Method (Manual Satin Stitch)
- Hoop It Up:
- Just like the digital method, put your stabilizer and fabric in a small hand hoop. If you don’t hoop it, the needle will chew the fabric into a bird’s nest.
- The Settings:
- Set your stitch Width to 3.0mm (width of the border) and your stitch Length to 0.2mm (almost zero).
- The Action:
- Run the needle around the edge of your design. Because the length is set to near-zero, the stitches will stack right next to each other, creating a solid wall of thread. It takes practice to keep the speed consistent, but it works.
Method C: The Hand Embroidery Route (The Artisan Look)
Target Audience: The punk jacket or vintage aesthetic.Transferring the Pattern
Don’t draw on your fabric with a pencil; it smudges.
The Whip Stitch Edge
If you cut a patch out of canvas and just leave it, it will look like trash in two weeks. You must lock the edge.
The Technique: Use a “Whip Stitch.” Bring the needle up from the back, go over the raw edge, and punch through the back again. Repeat this every millimeter all the way around. It wraps the edge in thread, protecting it from friction.
Finishing Your Patch (The Top 1% Secret)
This is the section that separates the “Etsy amateurs” from the factory floor.
The “Hot Knife” or Soldering Iron Technique
If you used Polyester Twill (which is plastic-based), you can cauterize the edge.
- Lay your finished patch on a piece of glass or a ceramic tile.
- Take a wood-burning tool or a soldering iron with a sharp tip.
- Trace the outside edge of your patch border.
Applying the Backing (Iron-On vs. Velcro)
Iron-On (HeatnBond UltraHold):
- Cut a piece of UltraHold slightly smaller than your patch.
- Iron it to the back of the patch (paper side up).
- Peel the paper. You now have a shiny layer of glue.
- Place it on your jacket and press for 8-10 seconds.
Velcro (Hook & Loop):
The Hook (Scratchy Side): Sew this to the back of your patch.
The Loop (Soft Side): Sew this to your gear/uniform.
Need a Professional Run?
Look, DIY is great for making one or two patches for a personal project. But if you need 50 patches for your unit or your business, sitting in front of a sewing machine for 40 hours isn’t worth your time. Send us the file at Custom Patches San Diego, and let our industrial Tajima’s handle the heavy lifting.
Frequently Asked Questions
Why is my patch puckering?
You didn’t use enough stabilizer. If your design is dense (lots of stitches), one layer of Cut-Away might not be enough. Try two layers. Or, your thread tension is too high, pulling the fabric in.
Why do I see white bobbin thread on top?
Your top tension is too tight, or your bobbin tension is too loose. The top thread is dragging the bottom thread up. Loosen the top tension dial slightly.
Why is the edge fraying?
You trimmed the fabric too far away from the border stitches, or you didn’t use Fray Check/Hot Knife. You need to seal those raw edges.
What is the difference between a Merrowed edge and a Satin stitch?
A Merrowed edge is that thick, overlock pipe-like border you see on boy scout patches. As detailed in our patch cost guide, it requires a specific $2,000 industrial machine (a Merrow MG-3U).. A Satin Stitch is a flat column of thread made by a standard sewing/embroidery machine. It mimics the look but isn’t as round or heavy.
Can I make patches with a Cricut?
Sort of. A Cricut can cut the fabric shape perfectly, but it can’t stitch. You can make “Faux Leather Patches” with a Cricut, but for embroidery, you are strictly using it as a fabric cutter.
How do I make a patch stiff?
If your patch feels floppy, iron on a layer of Buckram or stiff interfacing to the back before you apply the final backing. This gives it that rigid, “snap-to-attention” military feel.