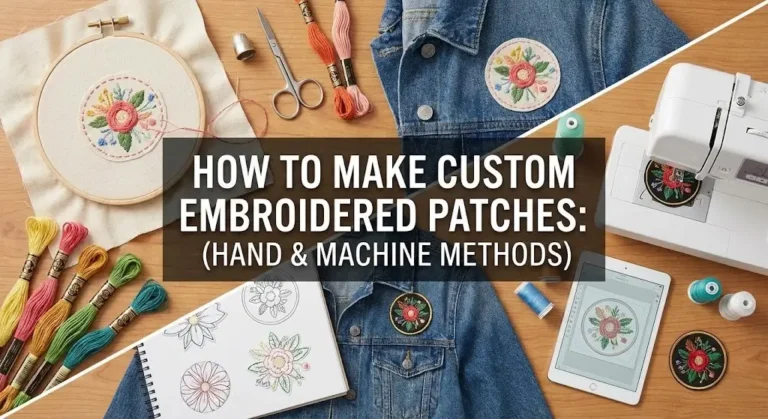
How to Make Custom Patches for Clothing: DIY Guide (2026)
Stop settling for peeling inkjet stickers. If you don’t want to request a quote from Custom Patches San Diego, you can still use a $10 budget or a $1,000 embroidery machine to make professional-grade patches that actually survive the wash. The secret isn’t usually the stitching, it’s the backing. If you get the stabilizer and adhesive combination right, you create a patch; if you get it wrong, you just have a scrap of fabric that curls up like a potato chip.
Here is the quick breakdown of your options before we get into the materials:
| Method | Difficulty | Equipment | Durability | Best For |
|---|---|---|---|---|
| Hand Embroidery | Medium | Needle, Hoop | High | Vintage or Punk Rock looks |
| Iron-On Transfer | Low | Printer, Iron | Low | Quick events, Bachelor parties |
| HTV / Cricut | Medium | Vinyl Cutter | High | Clean logos, text, modern branding |
| Faux Leather | Low | Cricut or Scissors | High | Hats, Beanies, Bags |
The “Why”: Essential Materials (The Secret Sauce)
Most DIY guides fail because they just tell you to grab “fabric.” On the factory floor, we know that fabric choice determines whether your patch puckers or lays flat. You are building a structure, not just sewing a picture.
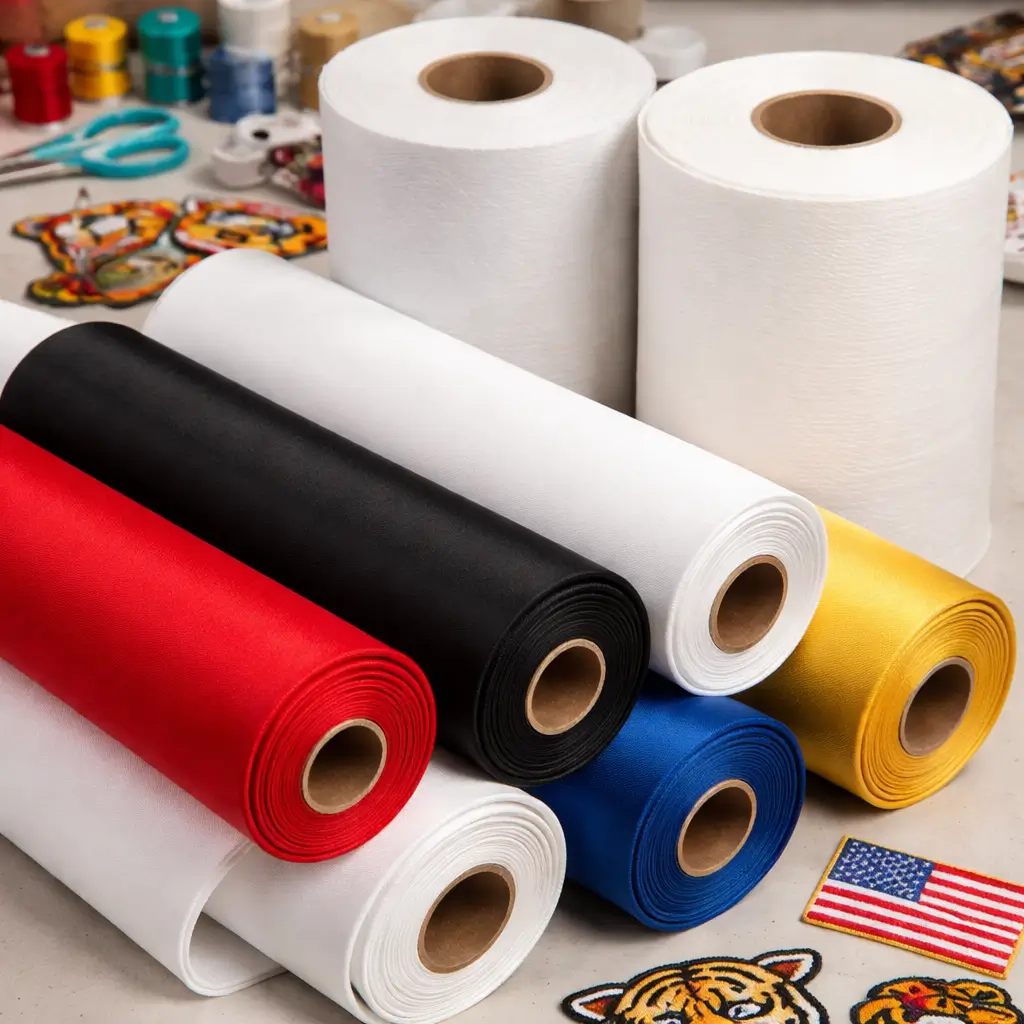
1. Best Fabrics for Patches
- Poly-Twill: This is the industry standard. It’s what we use for 90% of the orders here in San Diego. It has a diagonal weave, a slight sheen, and it doesn’t shrink when we blast it with heat.
- Duck Canvas: If you want that rugged, Carhartt-style workwear look, use canvas. It’s tough, but it frays easily, so you have to treat the edges.
- Felt: Perfect for that vintage varsity letterman look. It doesn’t fray (huge plus), but it absorbs moisture.
- Faux Leather: Great for laser-etched looks on trucker hats.
2. Stabilizers (The Backbone)
- You cannot embroider directly onto floppy fabric without support.
- Cut-Away Stabilizer: The heavy lifter. It stays on the back of the patch forever. This keeps the stitches from pulling the fabric together.
- Tear-Away Stabilizer: Good for light stitching, but for a full patch, I avoid it. It doesn’t offer enough long-term support.
3. Adhesives (The Glue)
- HeatnBond UltraHold: The “Ultra” is key. This is a no-sew adhesive. It turns your fabric into a sticker that fuses when ironed.
- HeatnBond Lite: Use this if you plan to sew through it later. It holds the patch in place while you stitch, but it won’t gum up your needle like the UltraHold will.
- Fray Check: A liquid sealant. Essential for sealing the edges if you aren’t using a professional merrowing machine.
Method 1: The “No-Sew” Digital Method (Iron-On Transfer)
This is the cheapest way to make a patch, but I’ll be honest with you, it’s the least durable. It’s great for a bachelor party in the Gaslamp Quarter, but bad for a tactical or military work uniform.
Step 1: Use “Dark” Transfer Paper: Even if your fabric is white, buy the “Dark T-Shirt Transfer Paper.” Why? It has a white base layer that makes the colors pop. “Light” transfer paper is transparent, so your design will look washed out on canvas.
Step 2: The Cardstock Trick: Don’t iron directly onto floppy fabric. Iron your transfer paper onto a piece of heavy canvas or stiff felt first. This gives the patch the rigidity of a credit card, which is what you want.
Step 3: Seal the Edges: When you cut this out, you’ll see the white paper edge. Use a dab of clear fabric paint or “Fray Check” to seal it so moisture doesn’t get under the paper and lift the ink.
Method 2: The “Crafter” Method (Cricut, HTV & Faux Leather)
If you have a Cricut or Silhouette machine, you can make patches that look surprisingly like the high-end PVC style we make at the factory.
Layered HTV
Ironing Heat Transfer Vinyl (HTV) onto Poly-Twill gives you a super crisp edge. Pro Tip: Use “Flock Vinyl.” It has a fuzzy, velvet texture that simulates the height and feel of embroidery thread without a single stitch.
Laser-Look Faux Leather
You can cut faux leather shapes with a Cricut. Instead of engraving, use a heat press to stamp your logo into the leather (if it reacts to heat) or simply layer a contrasting vinyl on top. It looks like a $50 hat patch.
Sublimation Blanks
You can actually buy “blank” patches—white polyester shapes with the edges already merrowed (stitched). You just print your design with sublimation ink and heat press it. The ink turns into gas and dyes the fabric. Zero sewing required.
Method 3: The “Artist” Method (Hand Embroidery)
Machines are too perfect. If you want that gritty, handmade look, you do it by hand. You can buy quality embroidered patches that achieve a similar look by using different types of stitching.
Step 1: Transfer the Art: Don’t draw on the fabric with a Sharpie; it bleeds. Use a water-soluble blue pen or carbon transfer paper.
Step 2: The Border is Everything: The difference between a “patch” and a “scrap” is the border. You need to learn the Satin Stitch—wrapping the thread over and over around the edge to create a solid rope-like border.
Step 3: Use Felt: For hand stitching, stiff felt is forgiving. It doesn’t pucker (bunch up) as much as cotton when you pull the thread tight.
Method 4: The “Prosumer” Method (Machine Embroidery)
If you have a home embroidery machine, you are 90% of the way to a factory patch.
The “Hooping” Strategy
Don’t hoop the patch fabric. It wastes material. Hoop a piece of stabilizer (paper-like backing), spray it with temporary adhesive, and “float” your patch fabric on top. This lets you use small scraps of fabric efficiently.
The Faux Merrow
Your home machine can’t do a real “Merrow” edge (that requires a specialized $2,000 serger). Instead, digitize a wide satin stitch column for the border. It mimics the look well enough for most eyes.
How to Finish Your Edges (Stop the Fray!)
This is the #1 Rookie Mistake. You cut out your patch, it looks great, and after one wash, the edges turn into a hairy mess. We design custom patches for durability
Fray Check
A liquid glue available at any sewing store. Run a bead around the edge. It dries clear but can feel a bit “crunchy.”
The Whip Stitch
If you didn’t embroider a border, use a needle and thread to manually whip stitch around the raw edge. It takes time, but it locks the fibers.
Heat Sealing (The Lighter Trick)
Warning: Only works on synthetic fabrics (Polyester/Nylon). Quickly pass a lighter flame near the edge. It melts the plastic fibers into a hard bead. Do not do this on cotton—it will just catch on fire.
Attaching Your Patch: Iron-On vs. Sewing vs. Velcro
Once the patch is made, how do you get it on the jacket?
Turn Any Patch into Iron-On
Buy HeatnBond UltraHold. It comes in a roll.
- Iron the shiny side to the back of your patch.
- Peel off the paper backing.
- Place patch on jacket and iron.
Making Removable Velcro
Buy adhesive-backed Hook & Loop tape. Stick the “Hook” (scratchy) side to your patch and sew a border around it to keep it from peeling off.
The “Badge Magic” Cheat
For costumes or temporary use, there are “Peel and Stick” double-sided fabric adhesives. They hold for a day, but don’t expect them to survive a wash cycle.
Frequently Asked Questions
What is the best fabric for homemade patches?
Poly-Twill is the gold standard because of its sheen and heat resistance. Duck Canvas is a close second if you want a matte, rugged texture. Avoid thin t-shirt cotton; it’s too stretchy.
How do I make patches without an embroidery machine?
Use the HTV (Vinyl) method or Sublimation. You can create bold, colorful graphics using just a heat press (or a household iron) and a vinyl cutter.
Why do my DIY iron-on patches peel off?
Two reasons:
1. Not enough heat/pressure: You need to melt the glue into the fibers.
2. Fabric Softener: If you wash the jacket with softener, it coats the fibers in silicone, and the glue can’t grab hold. Wash your garment without softener before applying.
Can I use regular glue for patches?
No. Elmer’s or Super Glue will crack and turn brittle. Use a specialized flexible fabric glue like E6000 or Aleene’s Fabric Fusion if you absolutely cannot sew or iron.