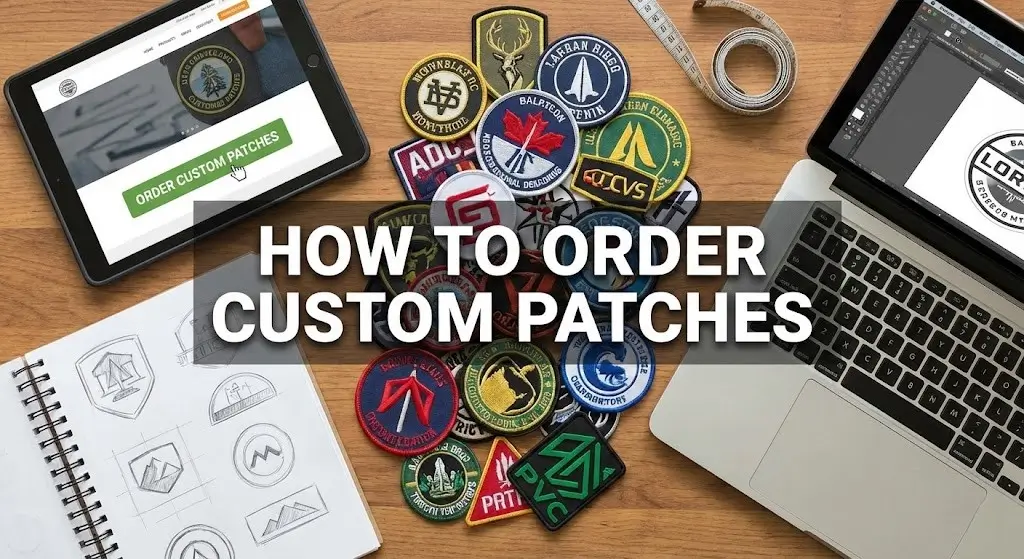
How to Order Custom Patches: The 2026 Buyer’s Handbook
Ordering custom patches isn’t like buying a t-shirt off the rack; it’s a manufacturing project. To get it right, you need three things: a clear design file (Vector is best), a specific size calculated by the industry formula (Height + Width) ÷ 2, and a decision on material (Embroidery, PVC, or Woven). The process generally takes 10 to 14 days from the moment you approve the digital proof to the moment the box hits your doorstep.
The “Why”: The Blueprint Before the Brick
Why can’t you just upload a photo and get a patch tomorrow? Because every single patch is a physical construction project.
We have to map out every needle drop.
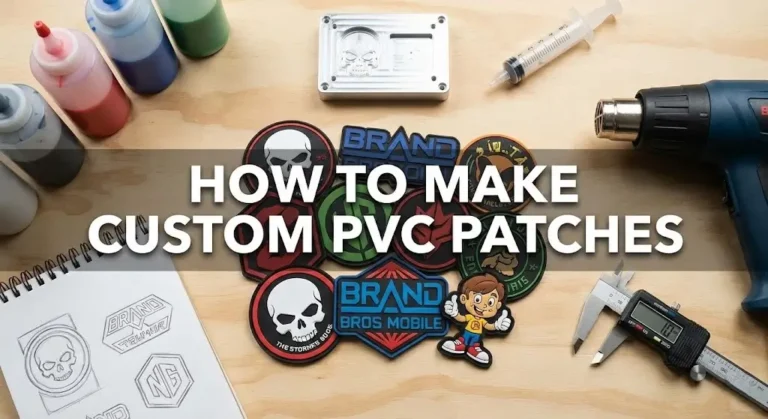
For PVC, we have to CNC mill a metal block.
If you treat this like a print-on-demand sticker, you’re going to be disappointed. We need the “blueprints” (your vector art) before we can pour the “concrete” (the thread or rubber).
Phase 1: The “Pre-Order” Checklist (Do This First)
Before you even ask for a quote, define exactly what this patch is for. The application dictates the material.
Choose embroidered patches. It’s the classic look. The thread has a sheen that looks professional on a mechanic’s shirt or a pristine Class A uniform.
Choose PVC (Rubber). If you are crawling through the mud at Camp Pendleton or out on a boat in the San Diego Bay, you need waterproof. Embroidery holds water; PVC sheds it.
Choose woven patches. If your design has text smaller than 0.25 inches, embroidery needles physically cannot stitch it clearly. Woven patches use thinner thread and a loom to get photo-realistic detail.
This is math-based art. We can scale it to the size of a billboard or a dime without losing quality. Preferred.
This is pixel-based. If you zoom in, it gets blurry. We can use this, but we have to “redraw” it, which might delay your order.
Phase 2: Specifying Your Order (The Technical Details)
When you fill out the quote form, you’ll see fields that confuse most rookies. Here is the translation.
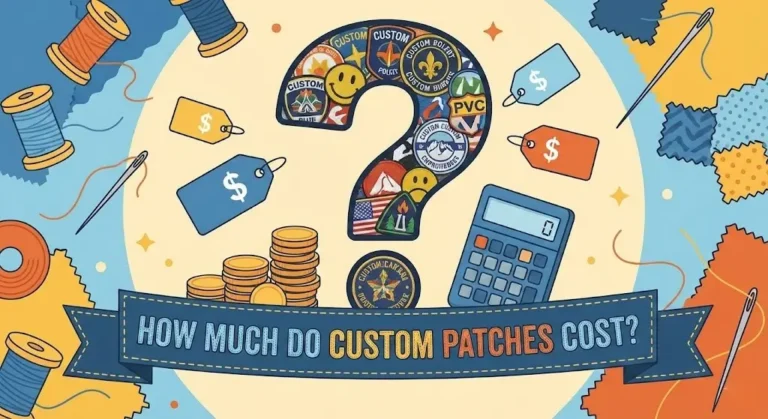
1. How to Calculate Patch Size
The industry doesn’t charge by “Square Area.” We use a simple average.
Example: A patch that is 3 inches tall and 4 inches wide is a 3.5″ patch (3+4=7, 7/2=3.5). This number determines your price bracket (see our patch cost breakdown).
2. Understanding “Embroidery Coverage”
We stitch the text and logo, but the background is the visible Twill fabric. This is cheaper and flatter.
Most of the patch is stitched, but small areas of twill might show.
We stitch the entire surface, including the background color. This creates a stiffer, premium patch, but it costs more because the machine runs longer.
3. Border Types (Merrowed vs. Laser Cut)
That thick, raised “piping” edge you see on Boy Scout patches. We use a special merrowing machine for this. It’s the standard for circles, squares, and shields.
If your design is the shape of a skull or a fighter jet, we can’t run a merrow machine around those sharp corners. We use a laser to cut the fabric and seal the edge flat.
The “Rookie Mistake”
Using Gradients (Fading Colors).
Embroidery machines load one thread color at a time. They cannot “fade” from Red to Pink (unless you switch to printed patches). If your art has a sunset gradient, we have to use “thread blending”, mixing two colors of thread to trick the eye. It rarely looks smooth.
Fix: Switch your art to “Spot Colors” (solid blocks of color) for the cleanest result.
The “Production Tip”
Your phone screen lies about color.The red on your iPhone is back-lit; the red thread on a patch is reflected light. They will never look identical. If you are strict about branding (like a Coca-Cola Red), do not say “Match my file.” Go to an art store, find a Pantone (PMS) Solid Coated book, pick the code (e.g., PMS 186 C), and give us that number. That is the only universal language for color.
Phase 4: The “Proofing” Process (The Most Critical Step)
Digital Proof vs. Sew-Out Sample
Digital Proof: This is an artwork file (PDF/JPG) showing what the patch should look like. It confirms the size, colors, and spelling.
Sew-Out (Physical Sample): This is a photo of the first actual stitched patch off the machine.

Always ask for a Sew-Out photo for orders over 50 pieces. A digital file cannot show you how the thread reflects light or if the text is too small to read.
We digitize exactly what you send. If you wrote “San Deigo,” we will stitch “San Deigo.”
Ensure the red is your red (e.g., PMS 186 C), not just a generic “Red.”
Zoom in. If the letters look like blobs in the sew-out, they will look like blobs in real life. Ask us to increase the size or switch to a “block” font.
Phase 5: Production & Shipping
We aren’t Amazon Prime. Custom manufacturing takes time.
This includes digitizing, sampling, production, and shipping.
We need extra time to CNC mill the metal mold before we can even inject the first patch.
Rush Orders & “In-Hand” Dates
If you need patches for Comic-Con or a deployment ceremony on a specific date, tell us upfront. “ASAP” is not a date. “July 15th” is a date. We can sometimes expedite shipping, but we cannot speed up the machine speed without risking quality.
Troubleshooting: Common Mistakes to Avoid
I see these errors on quote requests every day. Save yourself the revision time.
Too Many Colors
Most machines have 9 to 12 needles per head. If your design has 15 colors, we have to manually re-thread the machine. That stops production and spikes your price. Stick to 9 colors or less.
Text Too Small
Thread has thickness. If your text is smaller than 0.25 inches tall, the needle holes will cut into each other, and the letters will vanish.
Gradients
Embroidery cannot “fade” from Blue to White. We have to use “thread blending” (mixing two colored threads), which looks chunky. Use solid colors for a clean look.
Ready to start?
Don’t let the technical stuff scare you off. Send us your napkin sketch or your high-res logo, and we’ll handle the engineering.
Get Your Free Quote & Digital Proof TodayFrequently Asked Questions
What is the minimum order quantity (MOQ)?
Usually 10 to 50 pieces. We can make fewer, but the setup time is the same whether we run 1 or 100.
Can I order just one custom patch?
Yes, but be prepared for the bill. A single custom patch often costs $30 – $50. You are paying for the Digitizing Fee ($15-$30) and the machine setup labor, not just the thread.
Do I own the mold/digitizing file?
Yes. You paid for the setup. If you decide to take your business to another shop next year (though I hope you won’t!), ask us for the .DST file (embroidery) or the Mold (PVC). We keep them on file for re-orders, but they are your property.